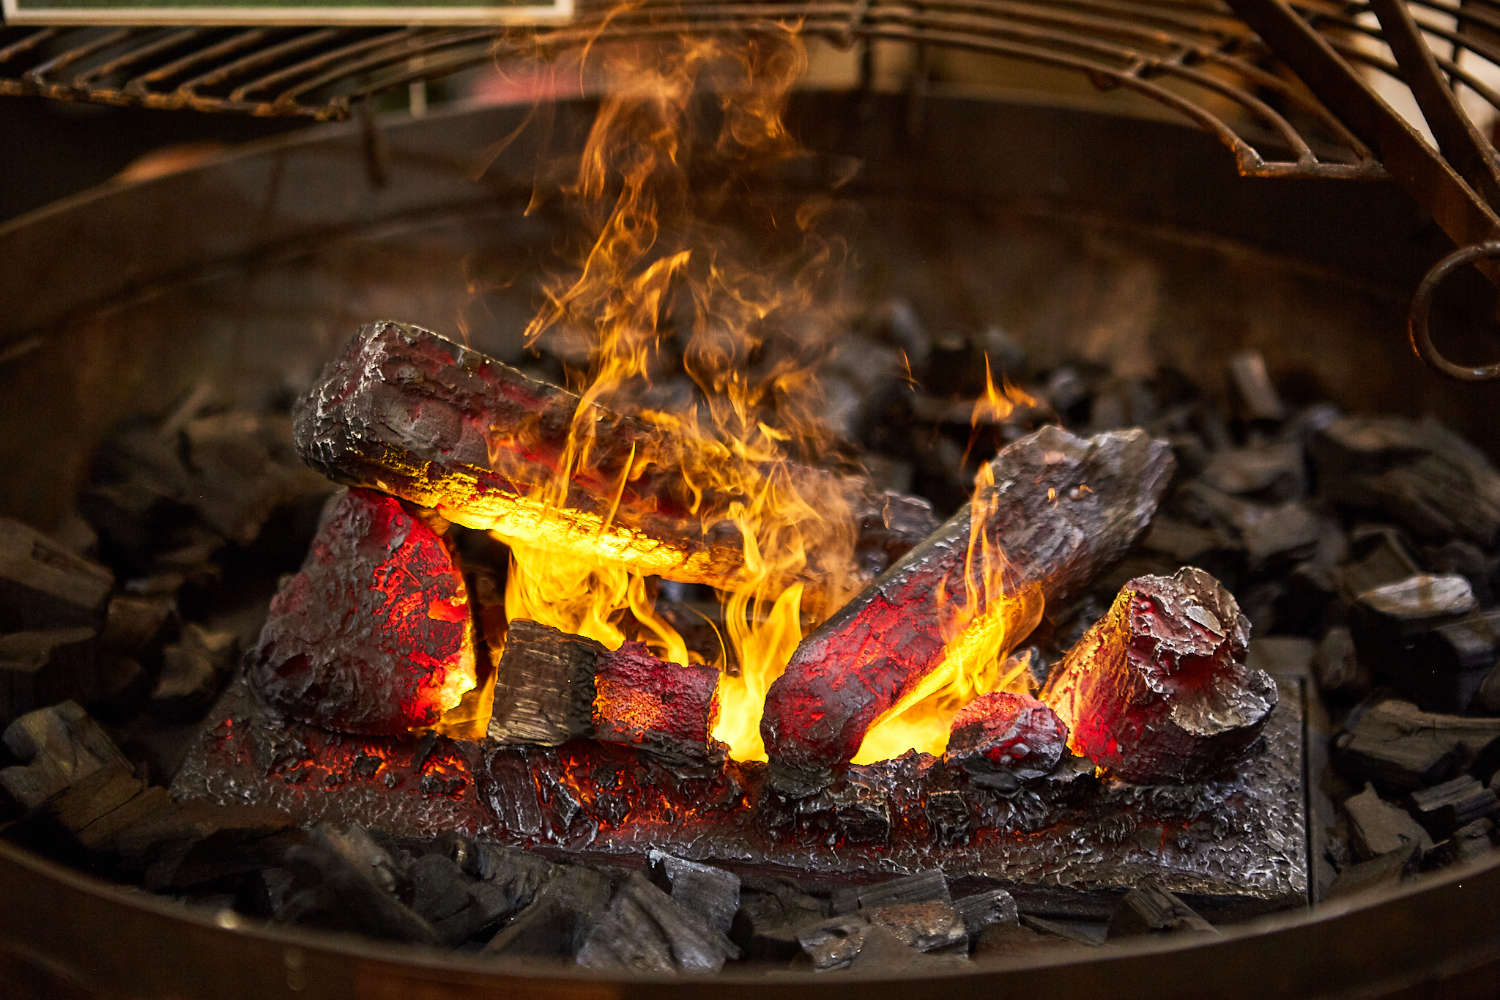
Fire Pits
Clean it regularly. Whether you have a gas or wood-burning fire pit, you will need to inspect and clean it on a regular basis. Remove the ashes often (don’t let them accumulate), and brush away debris. Thoroughly clean the fire pit after barbecues or fireside s’mores, especially if you notice any sticky food spills or residue. And if you have a gas fire pit, inspect and clean the burners and valves. You should also have the gas supply professionally inspected approx. once a year.
Avoid plastic. Don’t use your fire pit to burn items that aren’t meant to be burnt, such as plastic. The plastic will melt and become very difficult to remove. Plus, the burning of plastic can result in toxic fumes.
Let fires peter out. Although it may be tempting, don’t pour water on flames in your fire pit to put out fires. The sudden change in temperature can harm the fire pit’s structure and cause damage and/or deterioration.
Be safe. Always turn your fire pit off when you’ve finished and wait until the fire has died down before you leave the area.
How to care for your Cast Iron Chiminea
You can prevent rust to a certain extent when you ‘cure’ the finish immediately after assembly. To cure the surface, put the grate inside the chiminea and light a small fire using little bits of kindling wood. Leave it to burn for about an hour then light a bigger, full fire straight away, before things cool down, using larger chunks of wood. Let it burn for an hour then let the chiminea cool down.
Never use water to put your chiminea out. The shock of the temperature change can crack cast iron, which is very strong, but can also be surprisingly brittle.
Over time, the protective coating can start to wear off and the risk of rust increases. All you need to do is gently smooth off the rust with a fine grade sandpaper then re-apply the finish using a spray fire-resistant paint.
Last but not least, a clean chiminea always lasts longer. Get rid of the ashes and clean the inside and grill regularly to keep it in tip top condition.
How to cure your Clay Chiminea
Curing, or firing as it is sometimes referred to as, is an important step that is often overlooked. By curing you ensure that the clay can withstand the changes in heat caused by regular use and cold weather. This is a process that has been used for hundreds of years but often slips the mind of clay oven owners and is often not included in instructions provided by the manufacturers.
- This can be a time consuming process so we would recommend putting aside an afternoon, preferably when the weather is good. First you must fill the chiminea with sand to about three quarters of the way to the top of the mouth. This ensures that the flames of the fire do not directly touch the clay for the first few fires whilst you heat during the curing process.
- Light a small fire on top of the sand using just kindling and paper. Carefully position the fire so that it is set in the middle of the sand and try to ensure that the flames do not come into too much contact with the edge of the chiminea. Leave this to go out naturally after 5 minutes or so.
- Following this, you must allow the chiminea to cool. This may take a while as one of the reasons that chimineas are such great outdoor heaters is that the clay has the ability to hold heat and then radiate it over time. Remember this after any larger fire and be careful not to touch the chiminea until it has cooled completely as they will be hot! Empty the chiminea of any ash or unburnt material and prepare it for the next step.
- Repeat stages one to three again, each time making the fire progressively larger. Add kindling and pieces of wood and allow the fires to burn out naturally as before. We would recommend repeating this process 5/6 times to ensure the best results.
Once this is complete you are ready to go. Your chiminea should be cured and ready for camp fires, log burning or even to barbecue food. The curing process should make your clay oven more durable and should prevent cracking.


